Tongariro Alpine Crossing: an honest hiker's guide
What you need to know to hike the Tongariro Alpine Crossing: the mandatory booking system, shuttles, what the 19.4km is actually like and what to pack.
Should you go?
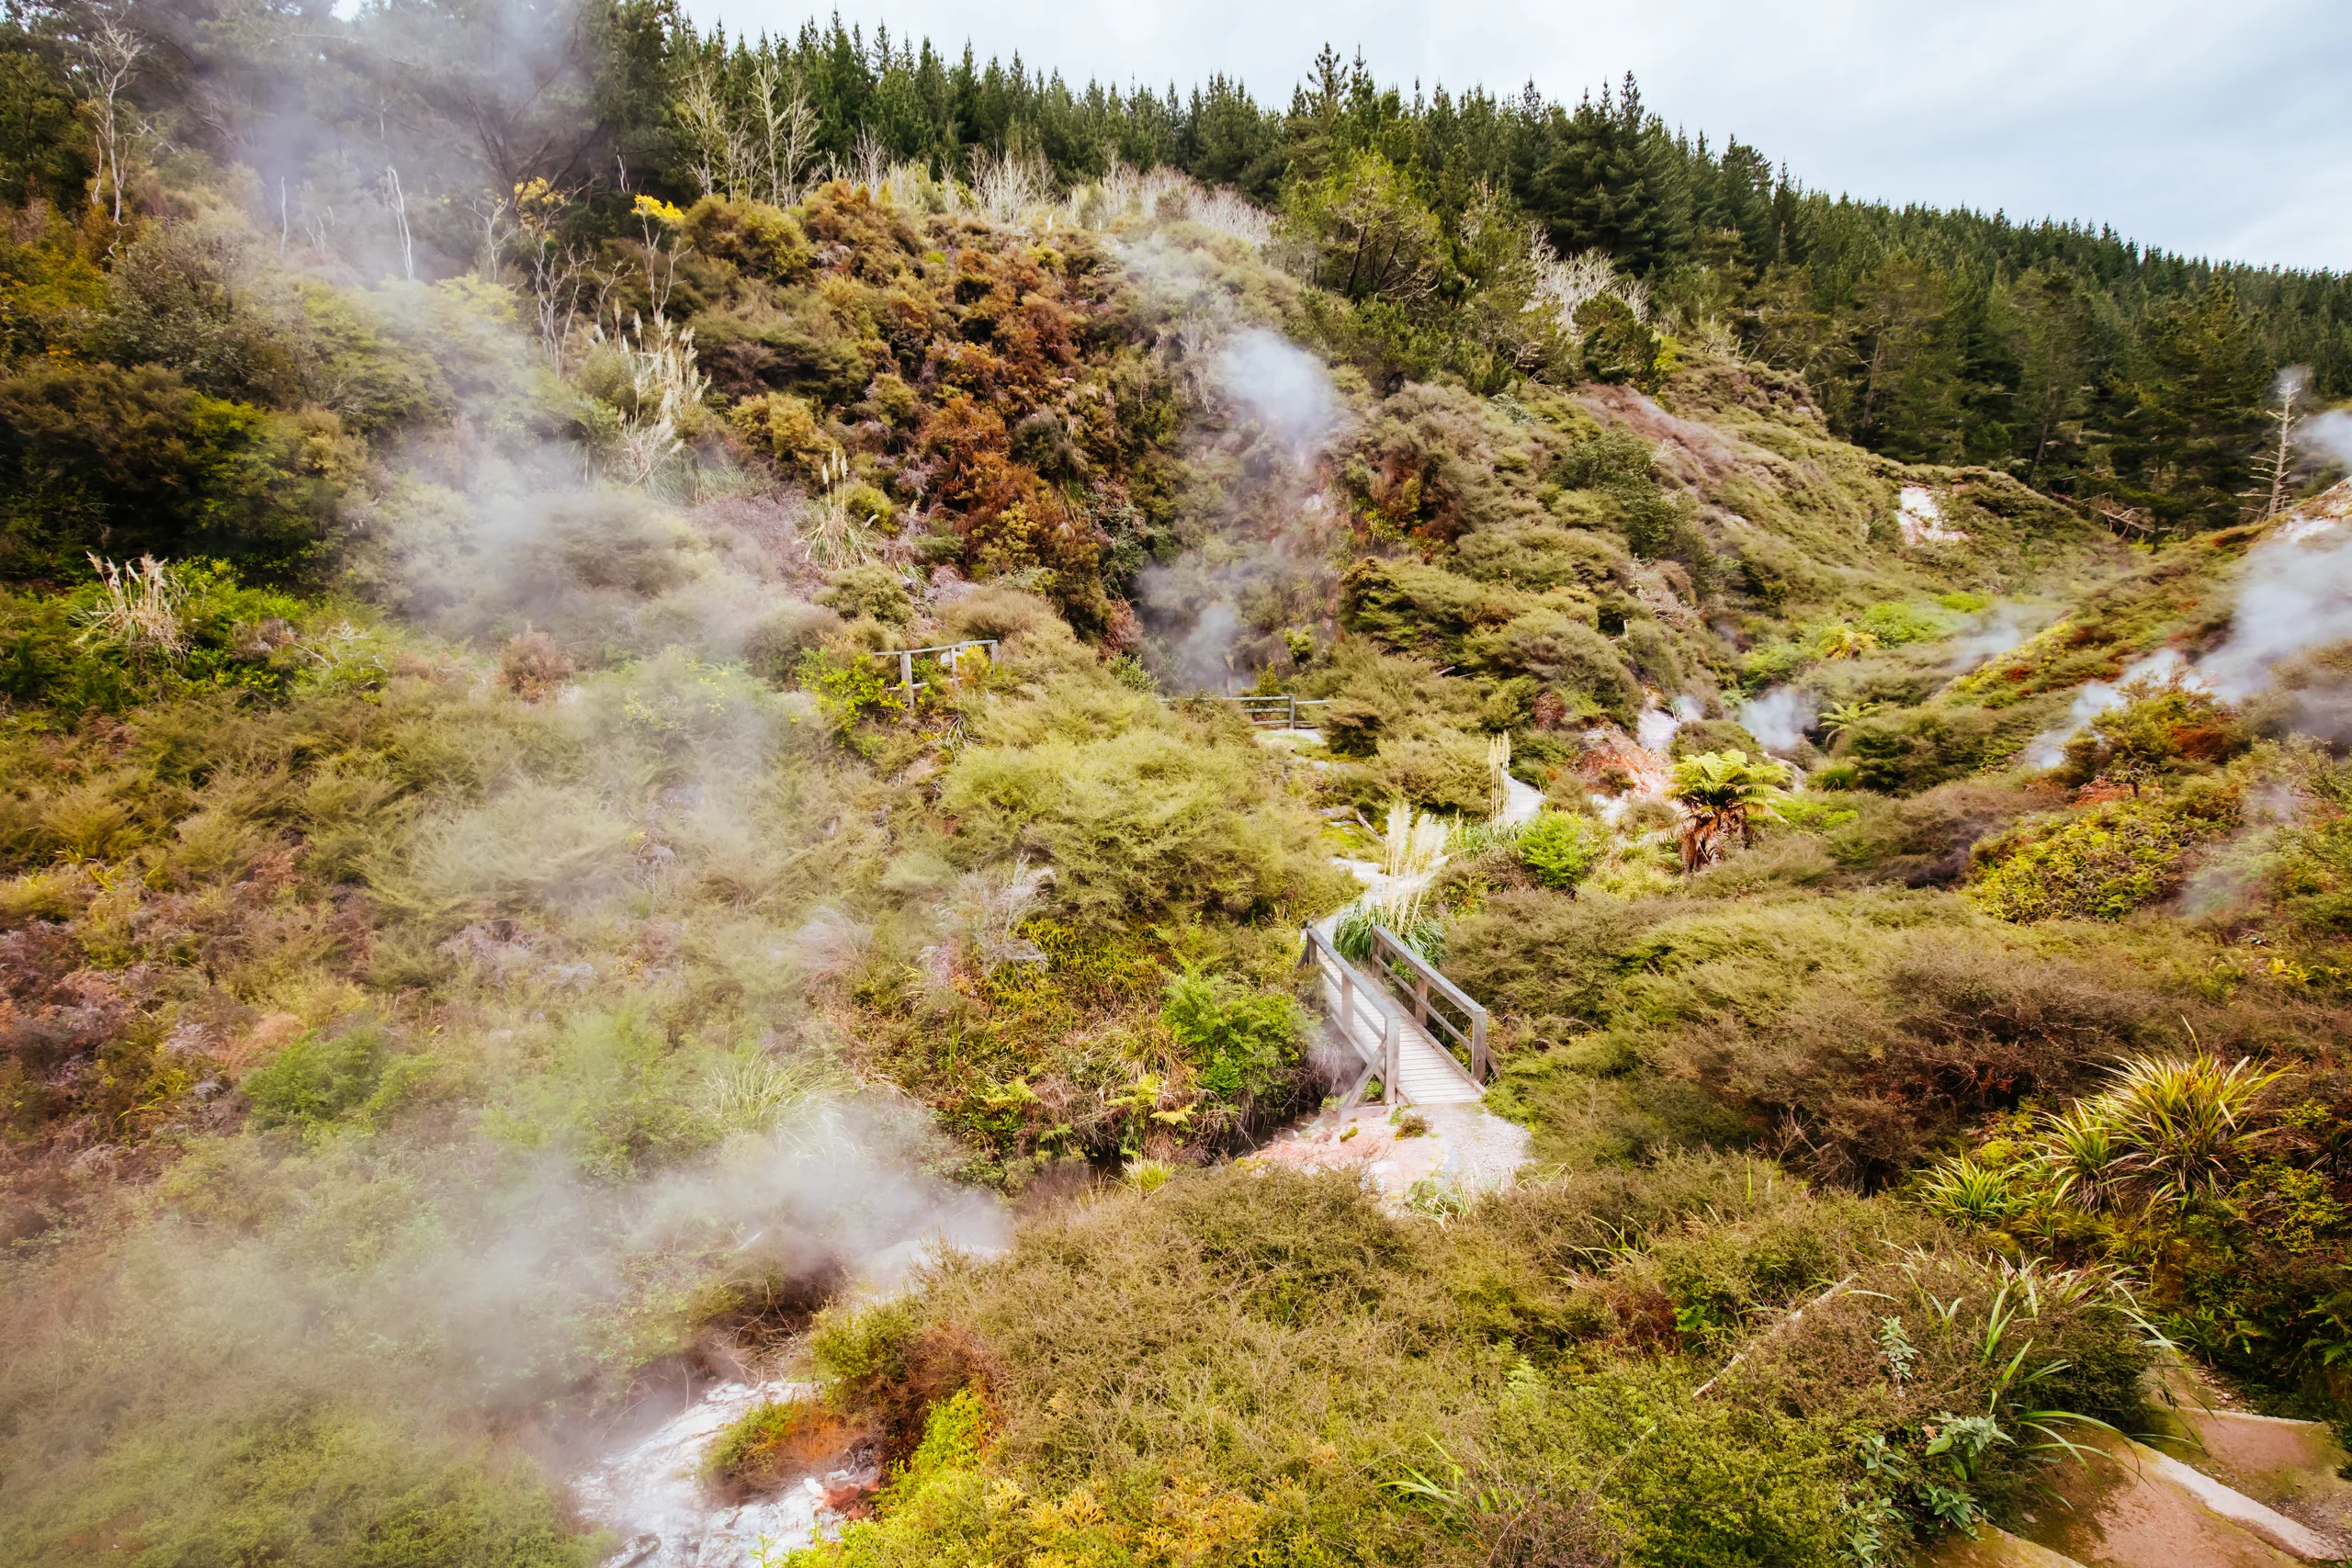
The Tongariro Alpine Crossing is regularly called one of the best day walks in the world, and on a clear day in February with the Emerald Lakes glowing below you, it earns that line in about six seconds. Dual UNESCO World Heritage status, an active volcanic landscape, and a finish that drops you out of an alien crater into beech forest. There’s nothing else like it in New Zealand that you can walk in a single day.
But this is a real hike, not a stroll. It’s 19.4 km one way with roughly 765 metres of vertical gain, several hours above the bushline, and a long descent that wrecks more knees than the climb does. The Department of Conservation grades it as Advanced. The fitness baseline is “you regularly walk for several hours and you can handle steep, loose, exposed terrain.” Most of the rescue and injury stories on this track come from people who showed up thinking it would be like a forest walk back home. It is not.
The honest version: if you hike at home, train a bit, book a sensible shuttle, and pick a good-weather day in the booking season, the Crossing is one of the great days of any New Zealand trip. If you don’t hike, or you’re trying to squeeze it in on a wet shoulder-season afternoon with no booking and no plan, do something else with that day. Lake Taupo isn’t going anywhere.
The mandatory booking system (2023+)
In October 2023, DOC introduced a free, compulsory booking system for the Tongariro Alpine Crossing during the Great Walks season. The aim was to relieve pressure on a track that was seeing 150,000-plus walkers a season, with predictable consequences for the toilets, the parking, and the rescue volume. It worked, and it’s here to stay.
What this means for you in 2025 and 2026: you cannot legally hike the Crossing during the booked season without a slot. Rangers check at the trailhead. The booking is free. Not booking is not a workaround, it’s a fine.
How to book a slot
Bookings open through the DOC website. You pick a date and a time window for entering the track at Mangatepopo. Every member of your party needs a booking listed on the reservation, though DOC’s own wording is that bookings are “recommended for all visitors” using any part of the track and “required” for anyone using a shuttle or guided service. In practice that covers almost everyone. Shuttle operators handle their own pickups around your booking, so book the slot first, then book the shuttle to match.
A few notes:
- It’s free, but it’s per person. Book for everyone in your group.
- You’ll need to bring proof of booking (email or QR code) on the day.
- If you no-show repeatedly, DOC can restrict future bookings. Cancel if your plan changes.
- Outside the Great Walks season (May to September), there’s no booking, but the route is a winter alpine traverse and not a regular hike.
When booking opens
Unlike the Great Walks, which release a full season of huts and campsites on one published opening morning, the TAC booking system runs as a rolling, in-season process rather than a single annual launch date. DOC has not published a fixed “opening day” for 2025-26, and there is currently no daily cap, so slots are not selling out in the traditional sense. The pressure is on shuttles, not the booking itself. Peak summer dates (late December through January) fill up fastest at the shuttle level, particularly weekends and any day with a forecast that looks like the brochure. If you have flexible dates, book two or three options and refine closer to the day based on the weather model. Many shuttle operators will let you change your transfer at no charge if you reschedule with a few days’ notice.
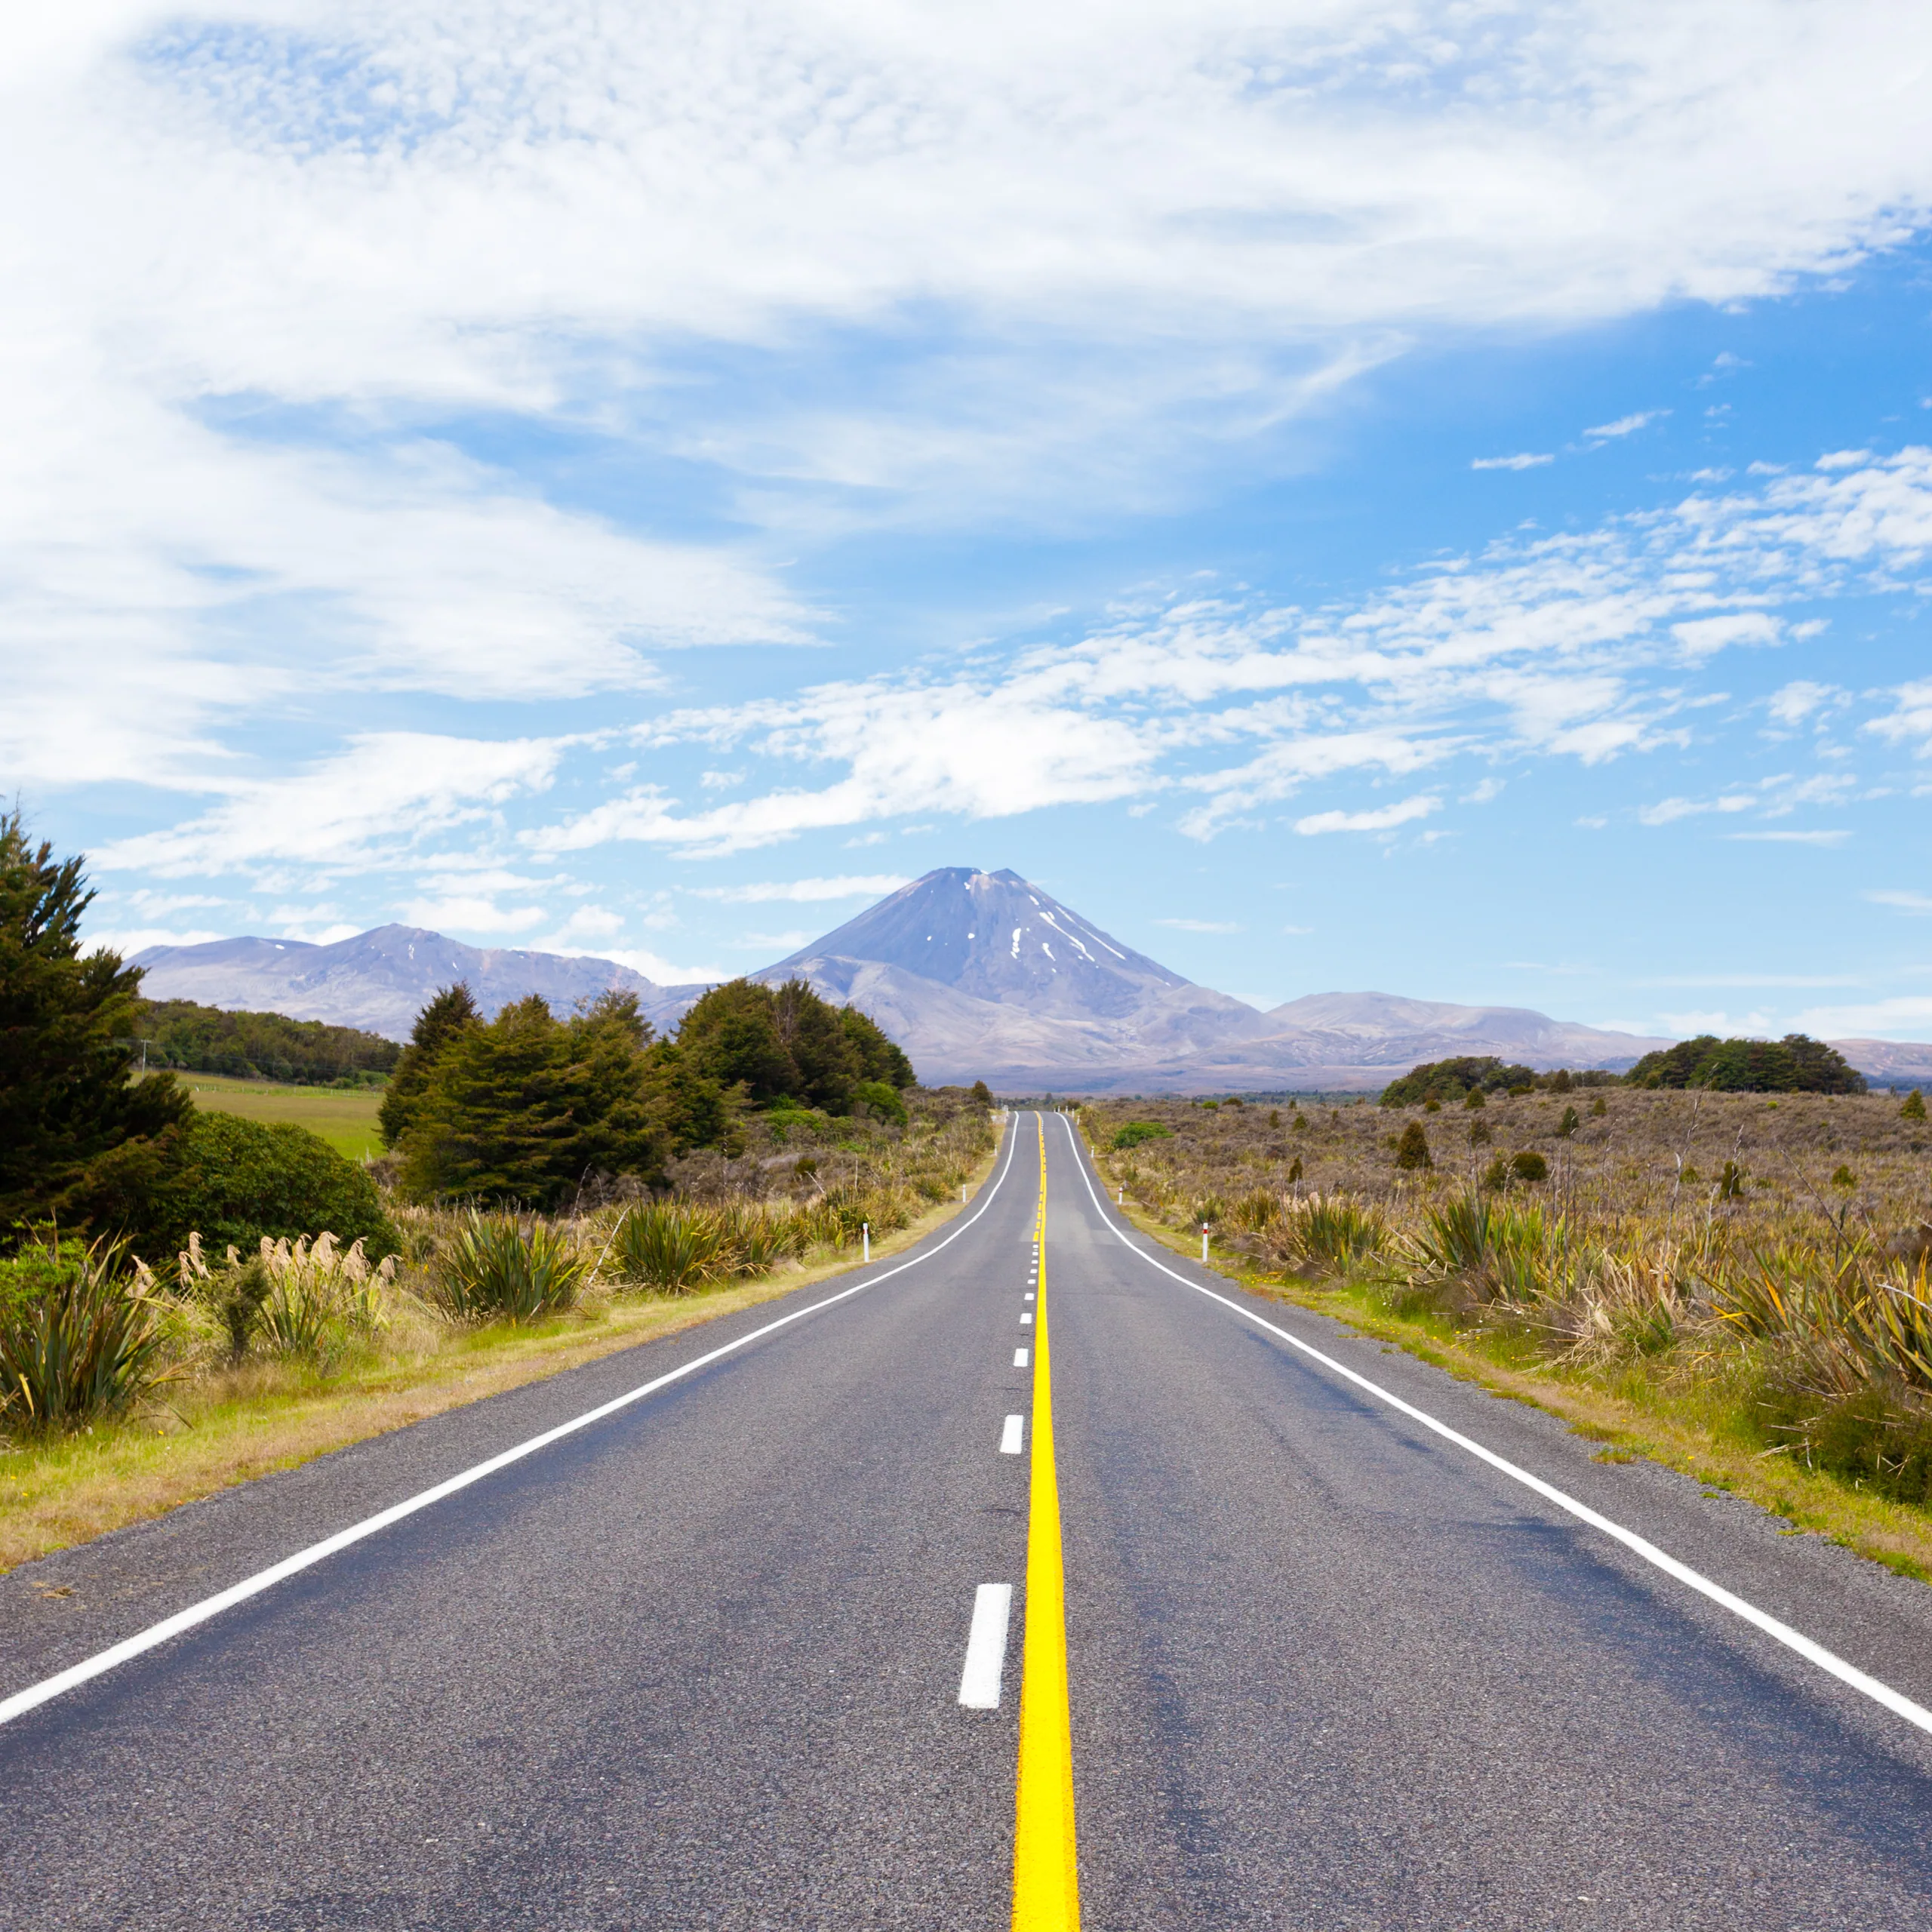
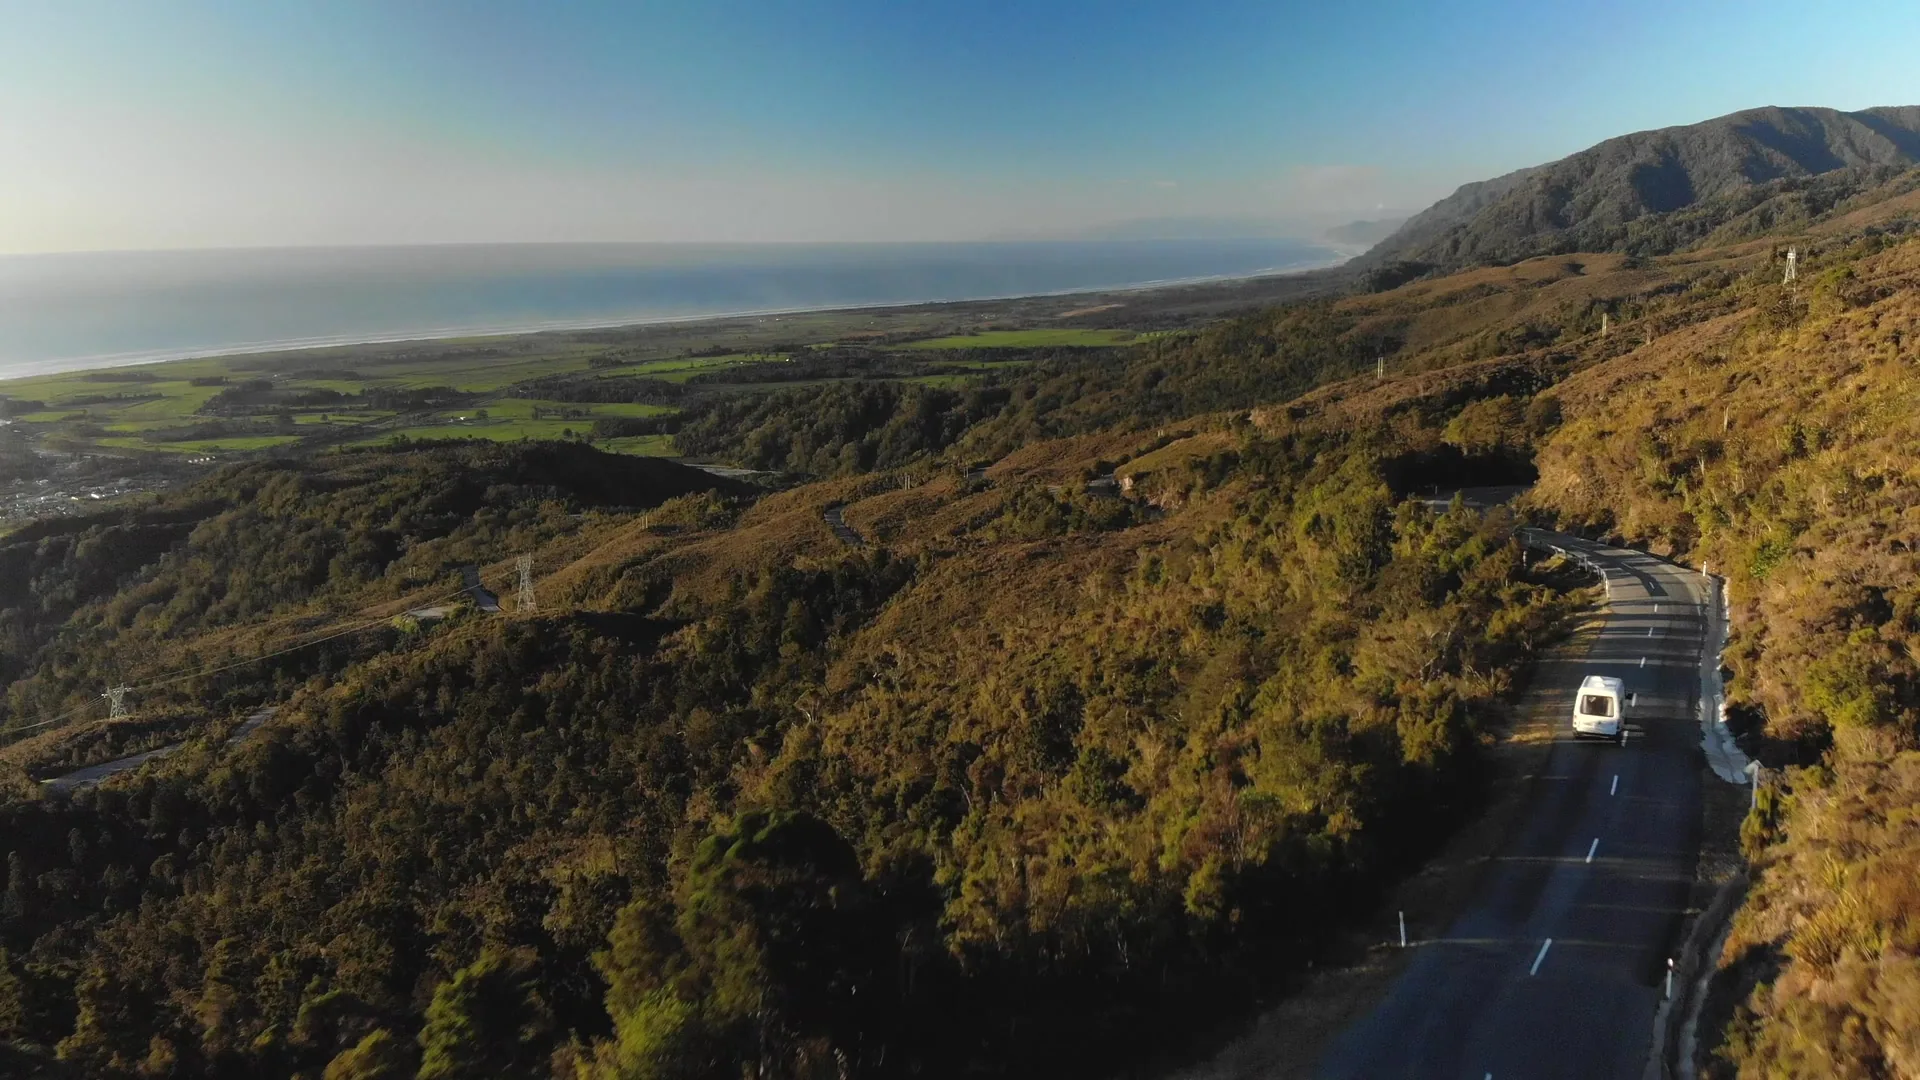
Getting there and shuttle options
The Crossing is a one-way hike. You start at the Mangatepopo car park and finish at the Ketetahi car park, about 30 minutes’ drive apart. Private vehicle parking at Mangatepopo is capped at four hours, which is shorter than the hike, so self-driving and walking back doesn’t work. Almost everyone takes a shuttle.
Your shuttle choice mostly depends on where you sleep the night before.
From Taupo
Taupo is the biggest town in the region and the easiest base for international travellers, with the most accommodation, restaurants, and a regional airport. The drive to Mangatepopo is about an hour. Shuttle pickups from Taupo run from around 5:30 to 6:30 am during summer because the early start gives you a buffer if the day stretches out. Taupo round-trip transfers have historically sat in the upper end of the shuttle price range (longest drive, longest day), and most operators sit somewhere in the dozens of dollars rather than the hundreds. Check each operator’s site for current 2025-26 pricing before you commit, as fares change year to year.
Taupo as a base trades drive time for comfort. If you’ve never hiked at altitude or you want a hot meal and a real bed at the end, it’s worth it.
From National Park village / Whakapapa
National Park village is the closest settlement to the Mangatepopo trailhead, around 25 minutes away. It’s small, more of a hiker base than a town, and accommodation is mostly lodges, motels, and a couple of backpackers. The shuttle from here tends to be the cheapest option (shortest distance), the pickup is the latest (a luxurious 6:30 to 7:30 am), and the post-hike drive home is the shortest. Confirm the exact 2025-26 fare directly with the operator, as prices vary by pickup point and shift each season.
Whakapapa Village, on the slopes of Mt Ruapehu, is another close base with similar transfer times. It’s higher altitude and quieter, with the Chateau Tongariro complex and the Skotel.
Comparing shuttle operators
There’s not a huge difference between operators in terms of the actual transfer. They all drop you at Mangatepopo and pick you up at Ketetahi. What varies is the pickup point, the return window flexibility, and whether they bundle gear hire or guided options.
- Tongariro Crossing Shuttles runs multiple morning departures and serves Taupo, Turangi and National Park. Long-established, easy to book online.
- Adventure Outdoors does both transport and guided crossings. The guided option is worth considering in early or late season or if you’re not sure about your fitness.
- National Park Backpackers Shuttle is the cheapest pickup if you’re staying in National Park village. Bare-bones but it works.
- Mountain Shuttle runs from Turangi and Taupo with a wider return window, which suits hikers who want to take their time without missing the last bus.
Whichever you pick, confirm your pickup time the evening before and check whether they cancel for weather (most do, with a refund or reschedule).
What the hike is actually like (km by km)
There are roughly four phases to the Crossing. Knowing what’s coming makes the harder sections feel shorter.
Mangatepopo to South Crater (0 to 5 km, roughly 1.5 to 2 hours)
The first few kilometres are deceptively easy. A well-formed boardwalk track winds across old lava flows from Mt Ngauruhoe, gently uphill, with the cone of Ngauruhoe building on your right. This is the warm-up. People who haven’t trained sometimes feel smug here. They will not feel smug an hour later.
The optional Mt Ngauruhoe side track branches off near the Mangatepopo Saddle. Climbing it adds 2 to 3 hours of brutal scree scrambling and the descent is a knee-destroying slide. DOC and the local iwi Ngati Hikairo ki Tongariro ask people not to climb it, both for cultural reasons (it’s tapu, sacred) and because of erosion. Most hikers respect that now. Ngauruhoe is no longer the trophy it once was, and the main Crossing is the better experience regardless.
The Devil’s Staircase (5 to 7 km, roughly 45 minutes to 1.5 hours)
This is the climb that surprises people. A steep, relentless staircase of rock and wooden steps that gains the lion’s share of the day’s vertical in under 2 km. You go from around 1,400 m to 1,650 m. Take it slow, breathe, drink water, and resist the urge to charge. People who blow up here are usually the ones who hit a wall on the descent.
Above the staircase you arrive at South Crater, a flat, surreal volcanic basin that looks like a film set. This is where you realise the landscape has fully detached from anything you’d recognise.
Red Crater and the Emerald Lakes (7 to 11 km, the high point at 1,886 m)
From South Crater the track climbs again, more steeply, up a loose ridge to the rim of Red Crater. This is the highest and most exposed point on the Crossing. Wind here can be ferocious. The crater itself is a vast, sulphur-stained gash in the earth, still steaming in places.
The descent from Red Crater to the Emerald Lakes is the famous shot from every Tongariro photo: a scree slope that drops you toward three lurid blue-green lakes. It’s also where people fall. The scree is loose, fast, and unforgiving on the knees. Plant your heels, take short steps, and accept that you’ll arrive with rocks in your shoes.
The Emerald Lakes themselves smell of sulphur and are sacred to local iwi. You don’t enter the water. You sit on a rock, eat your sandwich, and look at the colour, and then you keep moving.
The descent to Ketetahi (11 to 19.4 km, roughly 2.5 to 3.5 hours)
The back half of the hike is mostly downhill, and it is longer than you want it to be. From Blue Lake the track winds down the northern slopes, past steaming Te Maari craters (these erupted in 2012 and the area around them is monitored), through tussock, and eventually into beech forest.
The descent is where many people quietly fall apart. Your quads have been working hard, the views are behind you, and there’s still 8 km to go. Pace yourself, eat something, and don’t try to make up time. The shuttle pickup window is forgiving.
Ketetahi car park is where it ends. There’s a long-drop toilet, a few benches, and the shuttle. You will be tired in a way that is hard to describe to people who haven’t done it.
Difficulty, fitness, and what to bring
DOC rates the Crossing as Advanced. That’s not a marketing line. The combination of distance, elevation gain, alpine exposure, and the descent makes it more demanding than the raw numbers suggest.
If you hike regularly at home (think: full day hill walks, multi-day backpacking, regular gym cardio), you’ll find it tough but rewarding. If your idea of a long walk is the beach, train for at least three or four weeks before the trip. Stairs and hills with a daypack are the best preparation.
The gear baseline:
- Footwear: sturdy hiking shoes or light boots with grippy soles. Trail runners are fine if you’re used to them. Don’t do this in road runners or sandals. Every season someone tries.
- Water: 2 to 3 litres per person. There is no safe drinking water on the track in summer.
- Food: more than you think. A proper lunch, plus snacks every hour. Salty things help.
- Layers: a warm mid-layer (fleece or light puffer) and a waterproof shell, even on bluebird days. Conditions can flip in 30 minutes.
- Sun: high-factor sunscreen, sunglasses, hat. The volcanic terrain reflects light brutally.
- Hat and gloves: beanie and light gloves for the high section, especially before 10 am and in shoulder season.
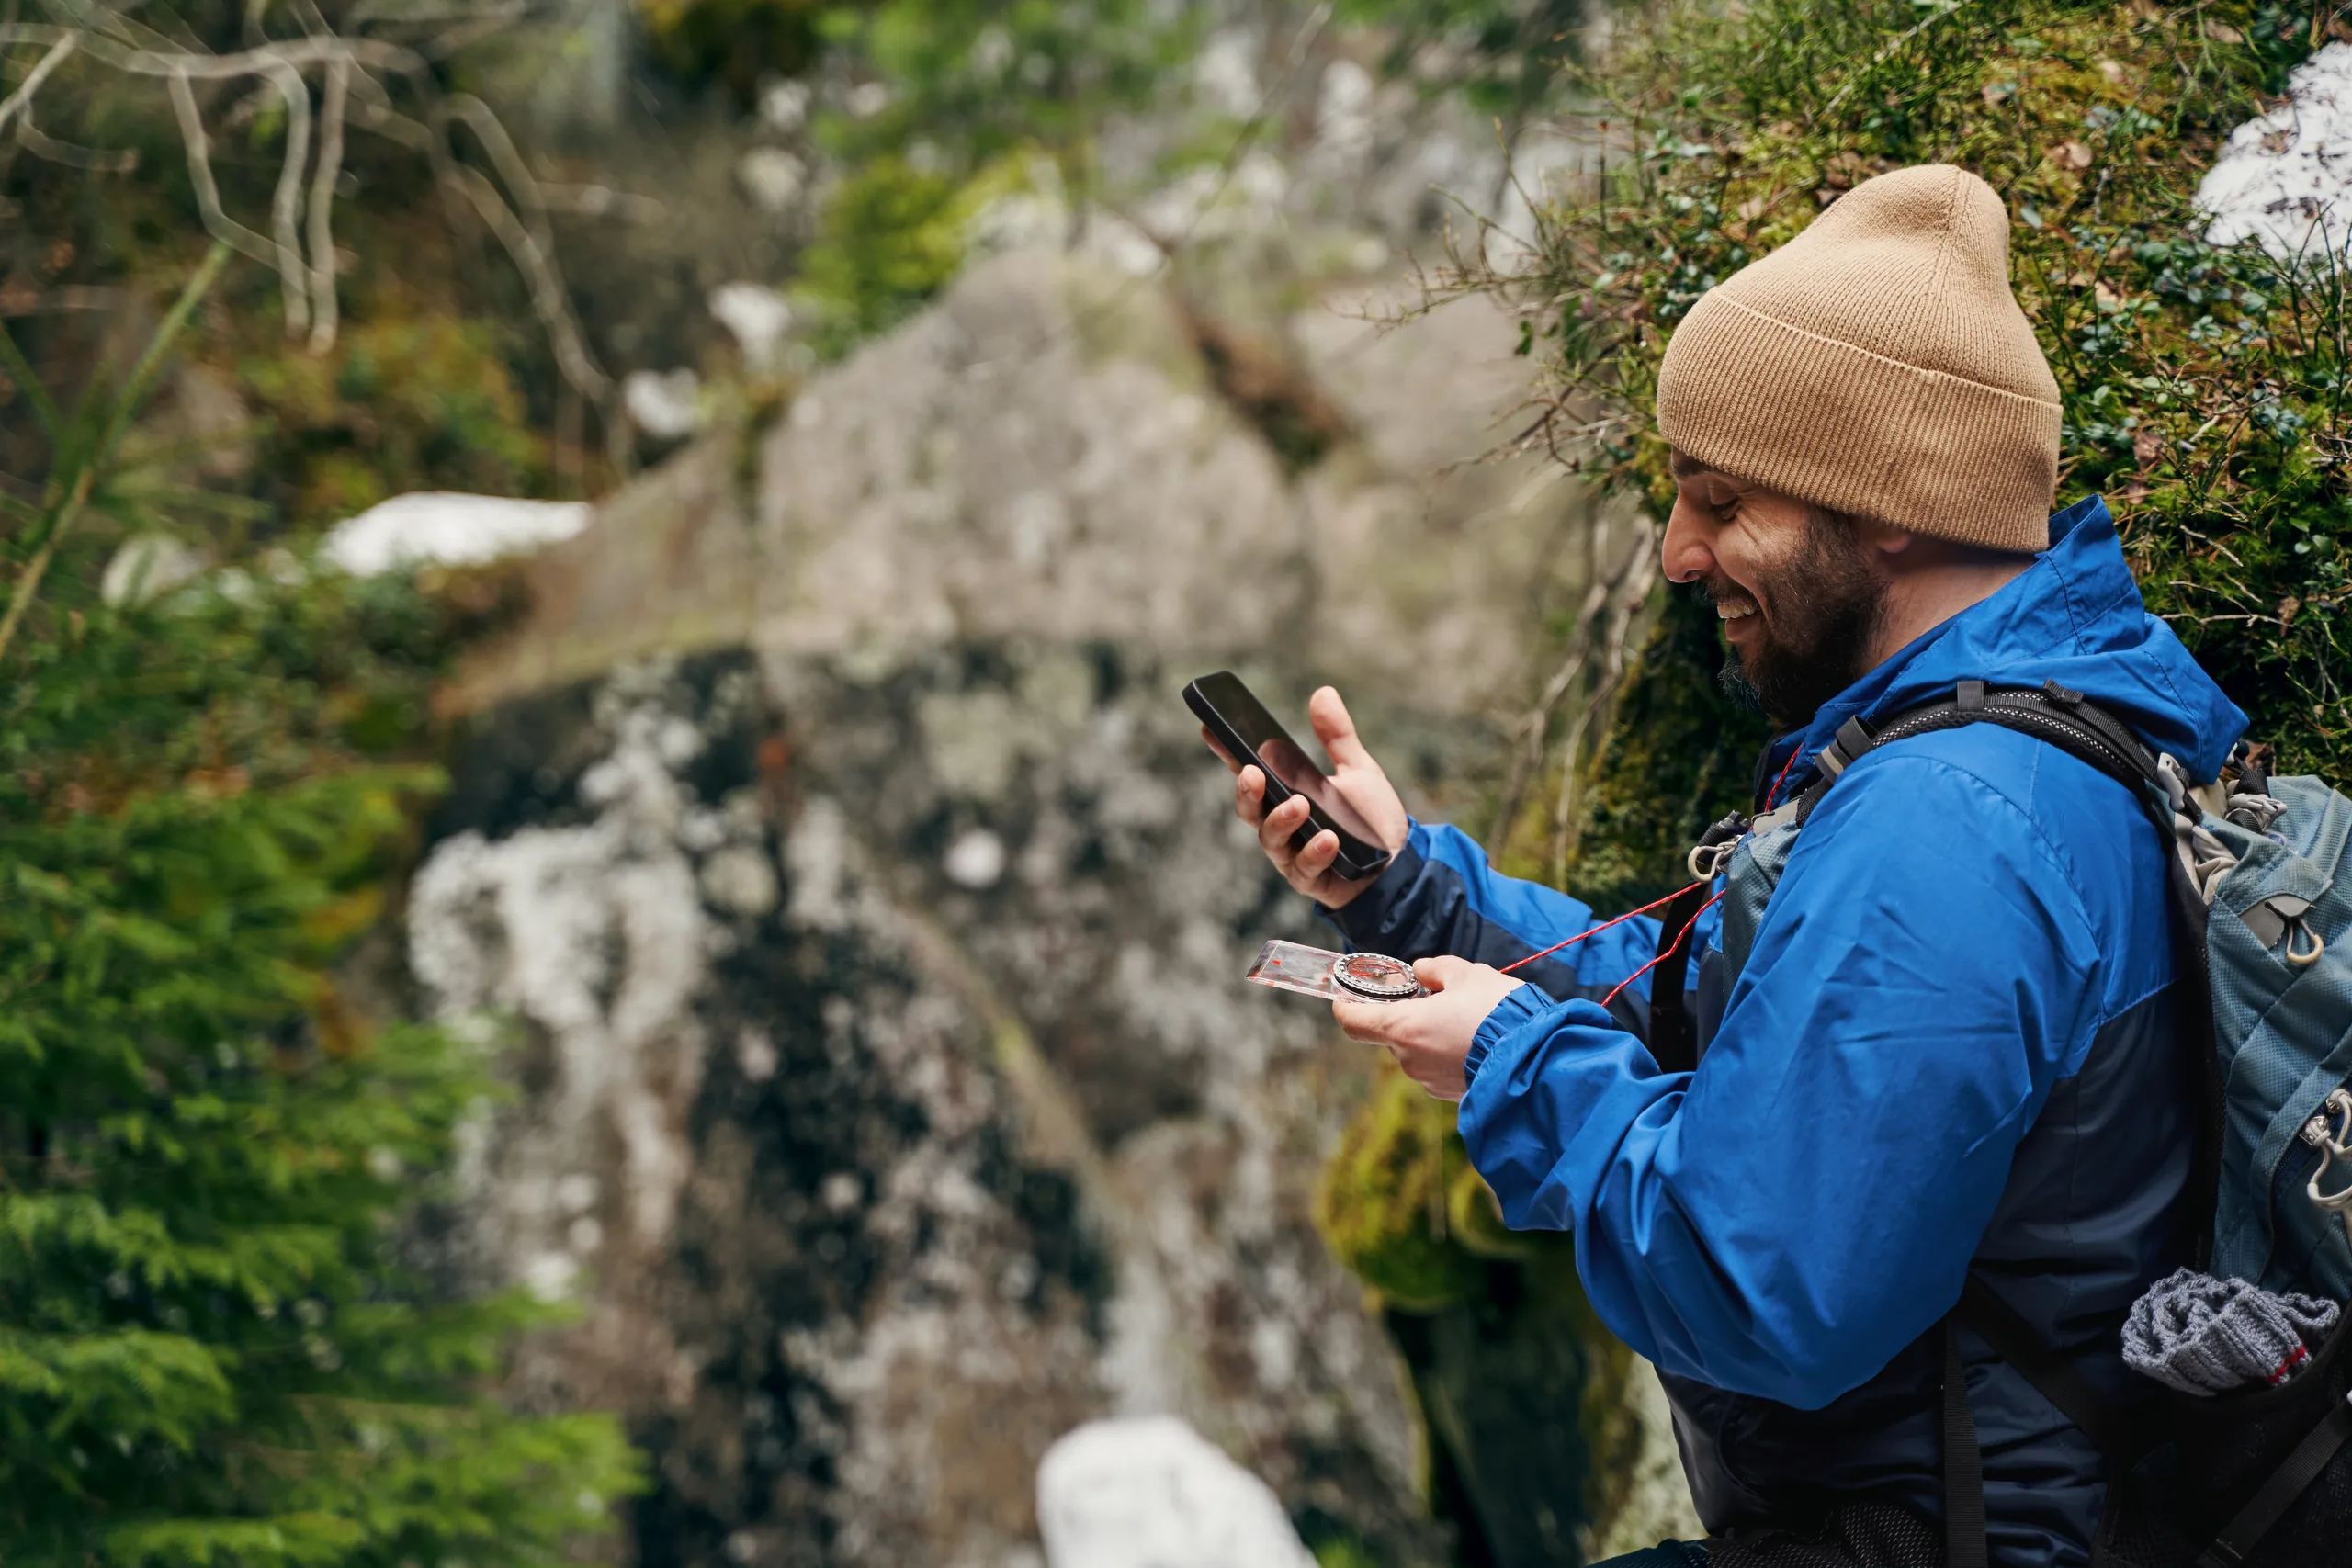
- Map and a charged phone: download offline maps. Signal is patchy at best.
- First aid basics: blister tape, painkillers, a small bandage. Most rescues here start with bad blisters or a turned ankle.
Gear hire is widely available in Taupo, Turangi, and National Park village if you’ve flown in light. Boots, packs, and shells typically run in the order of dozens of dollars per item per day, but exact rates vary by season and operator, so confirm pricing when you book.
When to go
The unguided season is roughly late October to late April, aligned with the DOC Great Walks calendar. Historically the Crossing has drawn well over 100,000 walkers per season at its pre-COVID peak, with the bulk of that traffic concentrated in January and February, when shuttle slots and good-weather days come under the heaviest booking pressure. Within that window:
- November and December: warming up, fewer crowds than peak, more snow lingering on the high sections in early November.
- January and February: peak summer. Warmest temperatures, most stable weather, busiest trail. Book shuttles early.
- March and April: arguably the sweet spot. Cooler air, fewer hikers, often crisp visibility. Days are shorter so start earlier.
Outside this window, the Crossing becomes a serious winter alpine traverse. Ice axe and crampon skills are essential, the booking system doesn’t apply but the conditions punish anyone unprepared, and several deaths have happened on the route in winter. If you want to see it in winter, book a guided crossing with one of the alpine guiding operators. Don’t freelance it.
The single biggest variable is wind. The high section above South Crater is exposed and the wind can hit gale force on otherwise sunny days. Check the Tongariro mountain forecast the night before and again on the morning. If the forecast at the summits is gusting above 70 km/h, seriously consider rescheduling. The shuttles often cancel preemptively in bad weather. Cross-check with the Mountain Safety Council and our packing list.
Skip this if…
The Crossing is great, but it isn’t for everyone. Honest reasons to drop it:
- You don’t hike at home and you have no time to prepare. This is not the hike to “start” with. Try the Taranaki Falls or Tama Lakes day walks from Whakapapa instead. Both give you Tongariro National Park scenery in a more forgiving package.
- The weather forecast is bad and your dates are fixed. Bad weather here isn’t a moody photo opportunity. It’s wind, low cloud, zero visibility, and real cold. You’ll see nothing and risk a lot.
- You only have a half day. It needs 7 to 9 hours of hiking plus shuttle time, which is a full day from any base.
- You’re travelling with young kids or anyone with a knee problem. The descent will not be kind. The Mangatepopo Valley walk, an out-and-back from the same trailhead, is a far better option.
- You’re outside the booking season and not equipped for winter alpine travel. Book a guided trip or wait for the next visit. There is no halfway version.
Alternatives that still capture the region: a half-day on the Tama Lakes track, a soak at Tokaanu thermal pools in Turangi, a guided Tongariro River jet boat trip, or a scenic flight over the volcanoes with one of the Taupo operators.
The practical stuff nobody mentions
A short list of things that will save your day.
- Toilets are limited and busy. There are toilets at Mangatepopo (start), Soda Springs (about 4 km in), the Red Crater area, and Ketetahi (end). That’s it for 19.4 km. They’re long-drops and can get grim by midday in peak season. Use the one at the trailhead before you start.
- There is no drinkable water on the trail. Streams here are contaminated by volcanic minerals. Don’t filter and drink from the lakes or springs. Carry what you need.
- The weather flips fast. A morning that starts at 18 degrees and sunny can be 4 degrees with horizontal rain by midday. The layers are not optional.
- Phone signal is patchy. Coverage exists at the trailheads and intermittently along the route, but plan for none. Offline maps and a paper backup are worth the five minutes of prep.
- Sun reflects off the volcanic surfaces. Sunburn on the back of your legs and the underside of your nose is a Tongariro classic. Sunscreen everywhere.
- The car parks are not the place to leave a rental in winter. Cars left overnight at Ketetahi have been broken into in shoulder season. Use a shuttle. Don’t leave anything visible in the car.
- Listen for volcanic alerts. Mt Tongariro is an active volcano. DOC posts alerts and may divert the route around active vents (this happened after the 2012 eruption). Check the GeoNet volcanic alert level before you go.
- Train for the descent, not the climb. Almost everyone trains uphill. The Crossing’s downhill back-half is what breaks people. Squats, lunges, and downhill walking are worth more than uphill cardio in the weeks before.
- Eat on the move. Hikers who stop for a long lunch at the Emerald Lakes often struggle to restart. A series of small breaks with steady fuel beats one big sit-down.
The Tongariro Alpine Crossing is the closest thing New Zealand has to a single-day pilgrimage. It rewards effort and punishes shortcuts. Book your slot, sort your shuttle, train a little, watch the weather, and pick the right day. Do those four things and you’ll walk out of the Ketetahi car park with one of the best days of your trip behind you.